
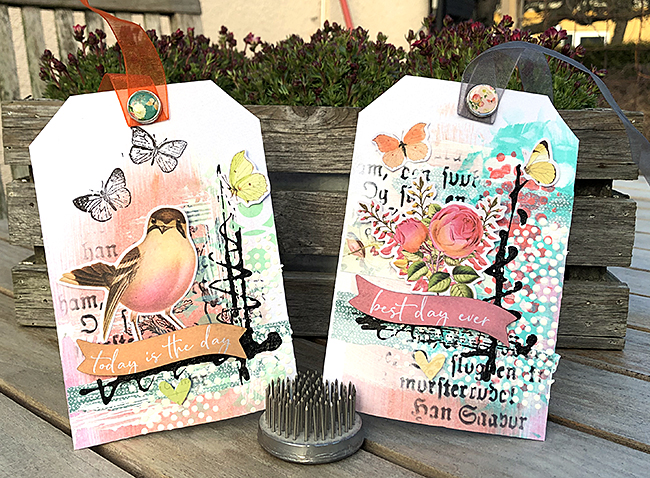
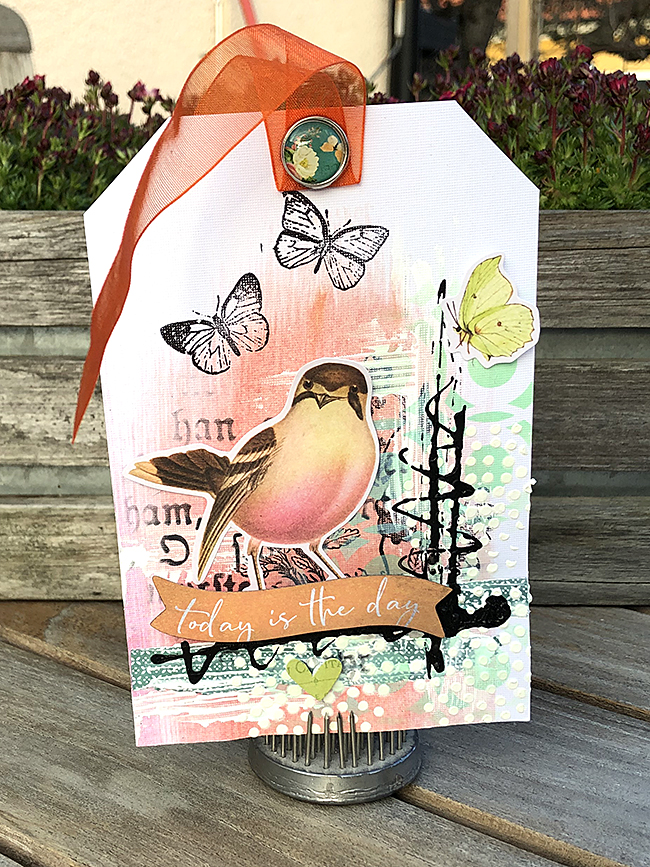
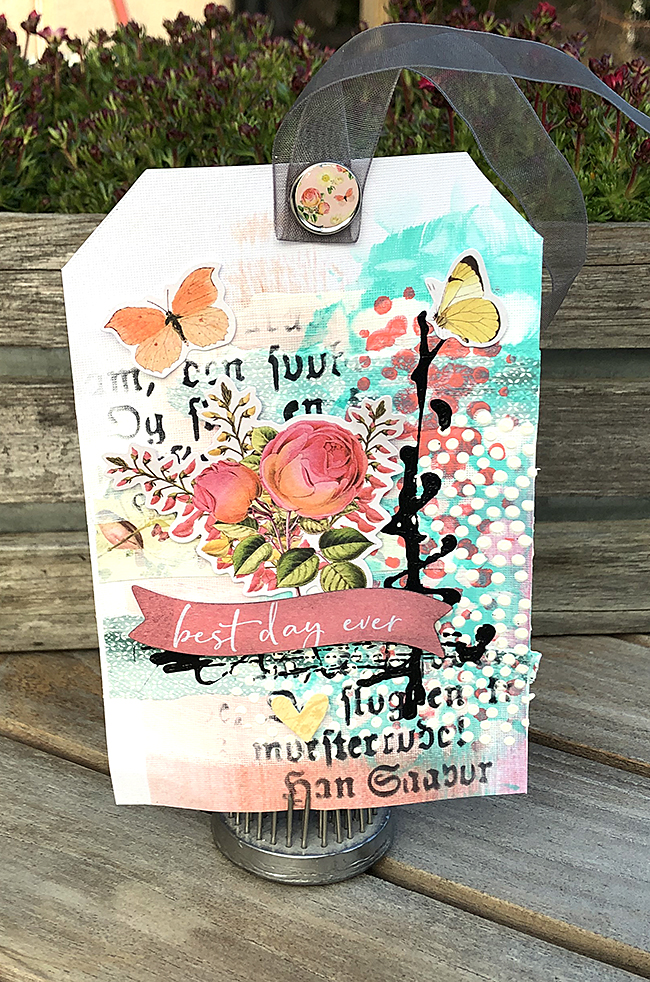
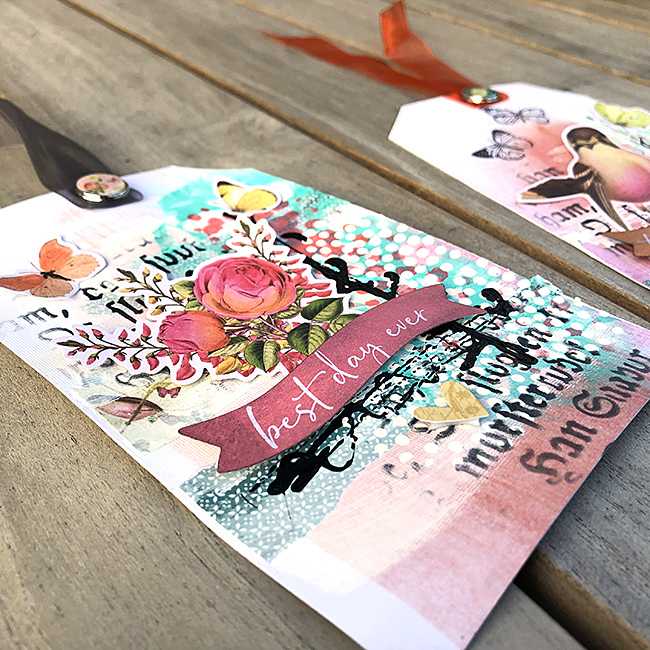
Do you like layering and mixed media? I do! On these tags I have been working with lots and lots of different layers. Sometimes when I do that I hesitate to cover up a previous layer because I want it all to show but this time I challenged myself. The two tags differ a bit but this is more or less the receipe:
The first layer on the tag is just some color brush strokes. Then I added a few stripes of pattern paper from the Simple Vintage Garden District by Simple Stories using matte gel. Then I added gesso. Next step was stamping. On top of the stamping I used some acrylic paint and a stencil to pick up some of the color. On top of that color through another stencil. Then heavy weight gesso through a third stencil. Then I used a fourth stencil with some distress ink on one tag and distress oxide ink on the other. I added some more gesso with a palette knife. After that I filled a Fine tip Glue Applicator with black gesso mixed with water. I used this to draw/paint the black stripes on the tag. I let the tag dry between all layers. I added some Simple Vintage Garden District decorations and then as a finish I used some organza ribbon and a decorative brad on the top of the tag. So in the end I used 12 different layers and it was so fun!
Gillar du lager på lager och mixed media? Det gör jag! På de här två taggarna har jag arbetet med massor av olika lager. Ibland tycker jag att det är svårt att arbeta med lager på lager eftersom jag tycker att det är synd att dölja de enskilda lagerna. Men den här gången bestämde jag mig för att utmana mig själv att använda massa av olika lager! De två tagsen är lite olika men detta är mer eller mindre receptet:
Först penslade jag på lite färg på vit cardstock. Sen har jag applicerat mönstrat papper från Simple Vintage Garden District by Simple Stories med matt gel. Sen penslade jag på tunt med gesso. Nästa lager består av stämpling. På det har jag använt akrylfärg där jag torkat bort en del av färgen genom en stencil. Med nästa stencil la jag på mer akrylfärg. Jag använde heavy weight gesso genom en tredje stencil. På den fjärde stencilen använde jag distress ink. Sen mer gesso som jag la på med en palettkniv. Efter det fyllde jag en Fine tip Glue Applicator med svart gesso blandat med vatten och ritade linjer. Jag lät taggen torka emellan de olika lagren. Jag dekorerade med dekorationer från Simple Vintage Garden District-kollektionen. Till slut använde jag organza band och brads på toppen av taggen. Det blev 12 lager till slut och det var så kul!

Material:
Simple Stories – Simple Vintage Garden District – Stamps
Simple Stories – Simple Vintage Garden District -6×8 paper pad
Simple Stories – Simple Vintage Garden District – Floral bits
Simple Stories – Simple Vintage Garden District – Bits & Peices
Simple Stories – Simple Vintage Garden District – Sticker book
Simple Stories – Simple Vintage Garden District – Decorative brads
Crafters Companion Fine Tip Glue Applicator
Ranger – Dina Wakley Acrylic Paint – Peacock
Ranger – Dina Wakley Acrylic Paint – Blushing
Ranger – Dina Wakley Acrylic Paint – Turquoise
Prima Finnabair – Stencil 6X9 – Gothic
Prima Finnabair Art Basics Soft Matte Gel 250ml – Transparent Matte
Ranger Tim Holtz Distress Oxide Ink Pad – Cracked Pistachio
Prima Finnabair Art Basics Soft Matte Gel 250ml – Transparent Matte
Ranger Tim Holtz Distress Ink Pad – Black Sooth
Dina Wakley Media Gesso 118ml Jar – White
Dina Wakley Media Gesso 118ml Jar – Black
Vicki Boutin – Mixed Media – Stencils – Kaleidoscope
Ink, 3D foam, ribbon

#Scrapbooking #DESIGNinPAPERS #MittKreativaKaos #PaperCraft #VickiBoutin #VickiBoutinKaleidoscope #Ranger #DinaWakley #ArtJournaling #ArtJournal #SimpleStories #SimpleVintageGardenDistrict #Finnabair #PrimaMarketingInc